Another part of my job as a Pilatus Porter pilot is survey flying. I’m sure you’ve heard of this type of flying and may even have applied for jobs to do it without fully knowing what it’s all about. Well hopefully this article, written from a pilot’s perspective, will help you.
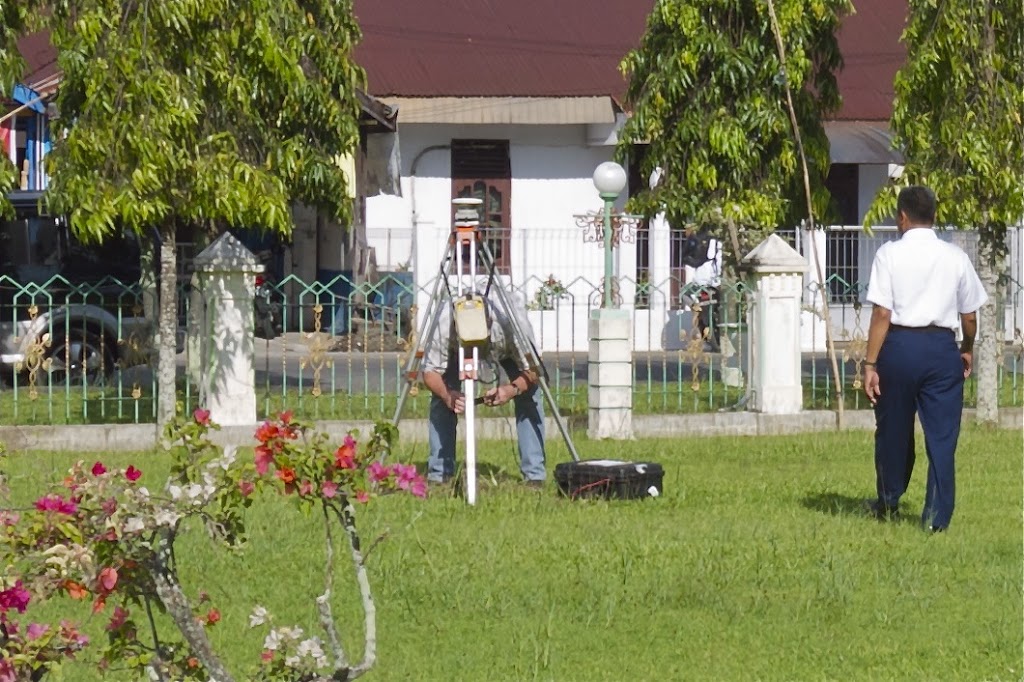 |
| GPS ground station for LIDAR survey |
There are a few different types of surveying that can be done from aircraft. The type I do is LIDAR (Light Detection and Ranging) survey flying. This is best explained in this article here. The Pilatus Porter was not only designed as the world’s best STOL aircraft but also to do aerial survey flights. In order to accomplish this there’s a trapdoor located in the centre of the aircraft through which survey equipment can be installed.
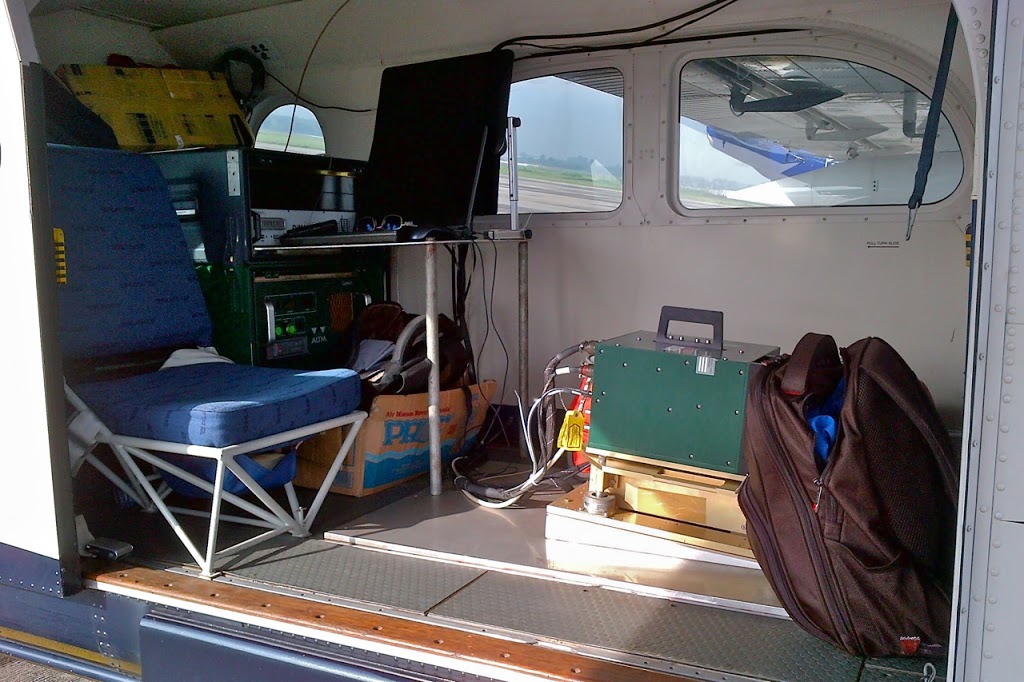 |
| LIDAR equipment installed into a Pilatus Porter |
The survey operator sits in the back of the aircraft and controls it all from a workstation there. In front of the pilot is a small monitor that shows where the aircraft is in relation to the lines that are flown during the survey.
As well as the trapdoor, Pilatus Porter’s can also have ferry tanks attached under the wings which increase the endurance from the standard 4 hours to just over 7 hours. They’re operated from the cockpit via electric pumps that transfer the fuel from the wing tanks and into the main tanks.
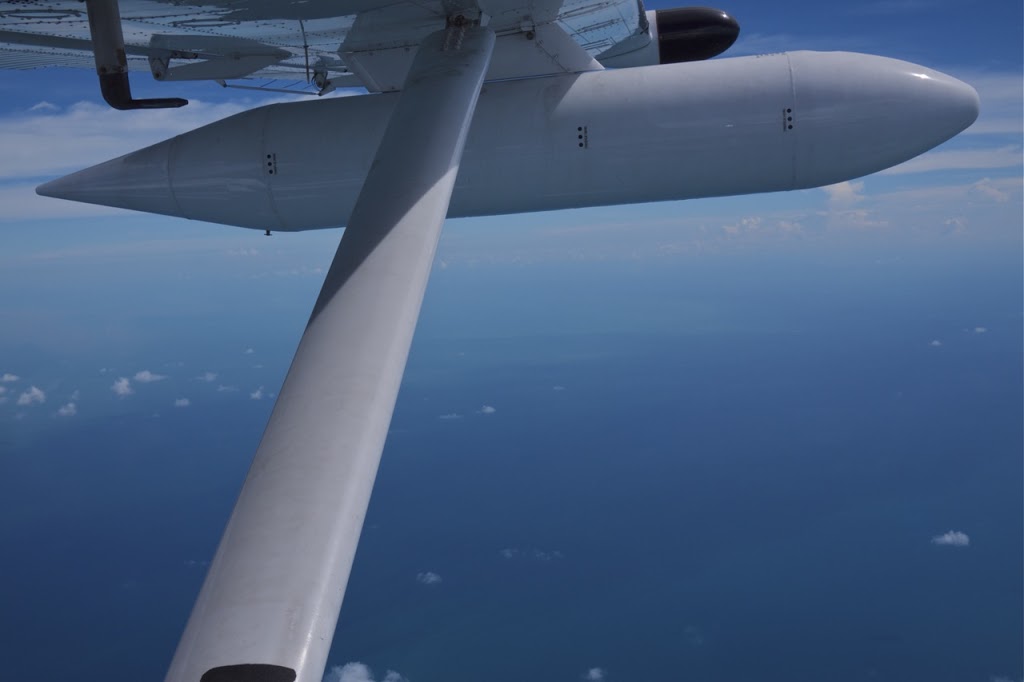 |
| Pilatus Porter under wing ferry tank |
As far as the flying goes, it is the hardest flying I have ever done. Period. Landing on a tiny airstrip in the middle of a jungle? Piece of cake compared to survey flying. Take a look at the photo below:
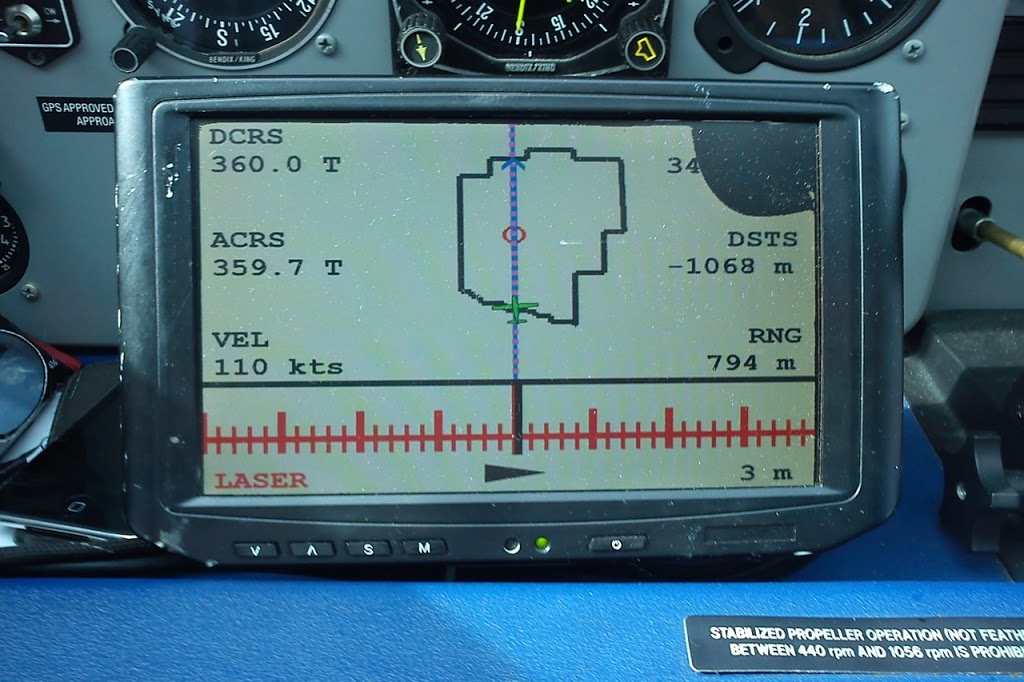 |
| LIDAR survey Pilot’s monitor |
As a pilot, this is what you stare at for up to 6 hours at a time whilst doing a survey flight. The idea is you have to keep within 40m of the centreline, keep a given height above ground level (800m in this case) all whilst maintaining 110kts groundspeed. On top of that you have to keep an eye outside for clouds. Go over or through even the smallest puff of cloud, as you’ll soon get an irate survey operator shouting at you from the back of the aircraft as you’ll have to go back and fly that line again. And if the terrain’s mountainous, you have to follow it at the given height. That can mean Vx climbs (speed obviously has to be slower for this) and beta descents depending on how steep it is.
Once you get to the end of a line, you have to turn around 180 degrees and fly the next line which will be parallel with the previous one. Now that would be easy if you could just bank the aircraft over to 60 degrees+ and pull it round. But you can’t. The maximum permitted angle of bank during the entire flight is 20 degrees (that includes flying to/from the survey area). A good survey pilot can come off one line and back onto the next in under 3 minutes. A really good pilot can get it under 2 minutes.
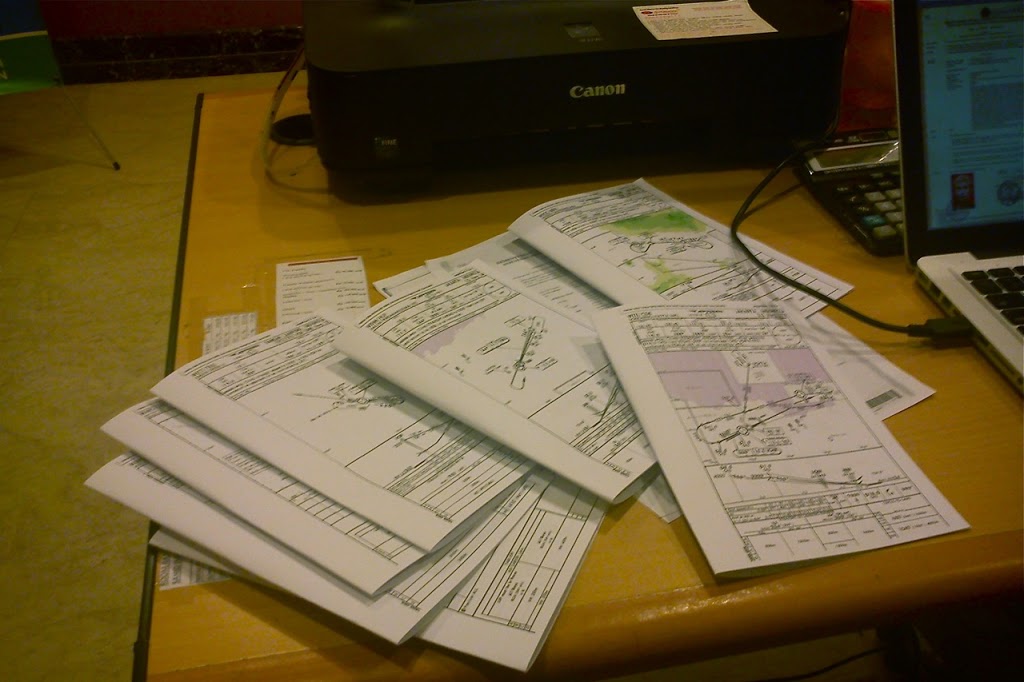 |
| Just a few Jeppesen plates for a repositioning flight |
Aside from flying lines, you also have to reposition the aircraft to the closest airport for the survey. That can involve some pretty long trips which all require proper planning that is often done pretty last minute in a hotel somewhere the night before. So far, I’ve flown surveys over Sumatra, Java, Kalimantan and Sulawesi and done the ferry flights in-between them all. And no, the Porter does not have an auto-pilot!
Discover more from Matt Dearden
Subscribe to get the latest posts sent to your email.
gotta love that last minute planning.